Wednesday, February 12, 2025
DIY Wooden Picture Ledge: A Simple and Stylish Way to Display Art
DIY Wooden Picture Ledge: A Simple and Stylish Way to Display Art
Hey there, fellow crafters and décor enthusiasts! Are you looking for a fun weekend project that'll also upgrade your home's aesthetic? Look no further! I'm going to walk you through building your very own wooden picture ledge. It's surprisingly easy, ridiculously affordable, and incredibly satisfying to make. Plus, it's a fantastic way to showcase your cherished photos, artwork, and small decorative items – all without breaking the bank or needing a degree in carpentry.

Gathering Your Supplies: What You'll Need
Before we dive into the construction, let's get organized! Here's a list of everything you'll need. Don't worry, you probably already have some of these lying around. And the rest? Easy to grab at your local hardware store.

Essential Materials:
- Wood: This is the star of the show! You can use a variety of woods – pine, oak, or even reclaimed wood for a rustic touch. Aim for a board that's about 1-1.5 inches thick and the length you desire for your ledge. I usually go for around 3-4 feet for a good-sized display.
- Wood Stain or Paint (Optional): To personalize the look and feel of your ledge. A natural wood finish is beautiful, but a stain or paint can completely transform it. Think about your existing décor and choose a colour that complements it.
- Wood Glue: This will help secure any pieces if you are making a more complex ledge design.
- Screws: Choose screws that are appropriate for the thickness of your wood. I usually use 1.5-inch screws for a secure hold. Make sure to get a screw type that won't split the wood, like a course-thread screw.
- Wall Anchors (If Necessary): These are crucial if you're hanging the ledge on drywall. They provide much stronger support than just screws alone.
- Measuring Tape and Pencil: For accurate measurements and marking.
- Level: Ensures your ledge is perfectly straight. A must-have for a professional look.
- Drill with Drill Bits: To pre-drill pilot holes (this prevents the wood from splitting) and to drive the screws.
- Sandpaper (Various grits): For smoothing out the wood before staining or painting. Start with a coarser grit and finish with a finer one for a super smooth surface.
- Safety Glasses and Dust Mask: Protect your eyes and lungs from wood dust.
Optional Extras:
- Wood Filler: To fill any nail holes or imperfections in the wood.
- Polyurethane (Optional): To seal the wood and protect it from moisture and wear and tear.
- Decorative Brackets (Optional): Instead of simple screws, you can use decorative brackets for a more sophisticated look.
Building Your Picture Ledge: A Step-by-Step Guide
Alright, let's get building! This part is easier than you think. Follow these steps and you'll be admiring your handiwork in no time.
Step 1: Preparing the Wood
Start by sanding your wood board. This is key for a smooth, professional finish. Sand thoroughly in the direction of the wood grain, using progressively finer grits of sandpaper. Once you've achieved a smooth surface, wipe away any dust with a damp cloth.
Step 2: Applying Stain or Paint (Optional)
If you're using stain or paint, now's the time to apply it. Follow the manufacturer's instructions carefully for the best results. Let it dry completely before moving on to the next step. Consider applying a second coat for even coverage, especially with paint.
Step 3: Determining Placement and Marking
Decide where you want to hang your picture ledge and mark the location on the wall with a pencil. Make sure it's level! Use your level to ensure that your markings are perfectly horizontal.
Step 4: Pre-Drilling Pilot Holes
Use a drill bit slightly smaller than the diameter of your screws to pre-drill pilot holes at your marked locations. This step prevents the wood from splitting when you drive in the screws. Pre-drilling is super important, especially with harder woods.
Step 5: Securing the Ledge
If you are using wall anchors, install them according to the manufacturer's instructions. Now carefully align your ledge with your markings and drive your screws into the wall, through the pre-drilled pilot holes in the wood. Use a screwdriver to ensure the screws are driven in straight and securely. Check again that the ledge is level before fully tightening the screws.
Step 6: Finishing Touches
Once your ledge is securely in place, take a step back and admire your work! If you used wood filler, now's the time to sand it down smoothly. You can also add a clear coat of polyurethane to protect your ledge from moisture and scratches – this is highly recommended, especially if you're putting it in a high-humidity area like a bathroom.
Styling Your New Picture Ledge
The best part? Decorating! Now you get to personalize your brand-new picture ledge. Here are some ideas to get your creative juices flowing:
- Family photos: A classic and always heartwarming choice.
- Artwork: Show off your favourite paintings, prints, or drawings.
- Small plants: Add a touch of greenery to liven up the space.
- Candles or decorative objects: Introduce some personality and visual interest.
- Collections: Display your favourite shells, stamps, or other small collectibles.
Remember, the possibilities are endless! Let your creativity guide you. Have fun experimenting with different arrangements and styles until you achieve the perfect look.
Frequently Asked Questions
Here are some common questions I get about DIY wooden picture ledges:
- Q: What type of wood is best for a picture ledge? A: Pine and oak are popular choices because they're relatively inexpensive and easy to work with. However, you can use any type of wood you like, even reclaimed wood for a rustic look.
- Q: How do I make sure my ledge is level? A: Use a level! It's the best way to ensure your ledge is perfectly straight and doesn't look crooked.
- Q: What if I don't have wall anchors? A: While wall anchors are recommended, especially for drywall, you can sometimes get away with using longer screws if you have sturdy wall studs behind the drywall.
- Q: How do I clean my wooden picture ledge? A: Simply wipe it down with a damp cloth. Avoid using harsh chemicals or abrasive cleaners as these can damage the wood.
- Q: Can I make a longer ledge? A: Absolutely! You can make the ledge as long as you need. Just ensure that you use appropriate support to prevent sagging.
- Q: Can I add a decorative touch to the front of the ledge? A: Yes, you can add trim or molding to the front of your ledge for added aesthetic appeal. This adds a more polished or elaborate look.
And that's it! You've officially mastered the art of the DIY wooden picture ledge. I hope this guide has been helpful and inspired you to create your own stunning display. Happy crafting!
Wednesday, November 4, 2020
Utility sheds plans Cheapest
Example of this Utility sheds plans


20 x 24 shed kits Deals
Example of this 20 x 24 shed kits


Tuesday, November 3, 2020
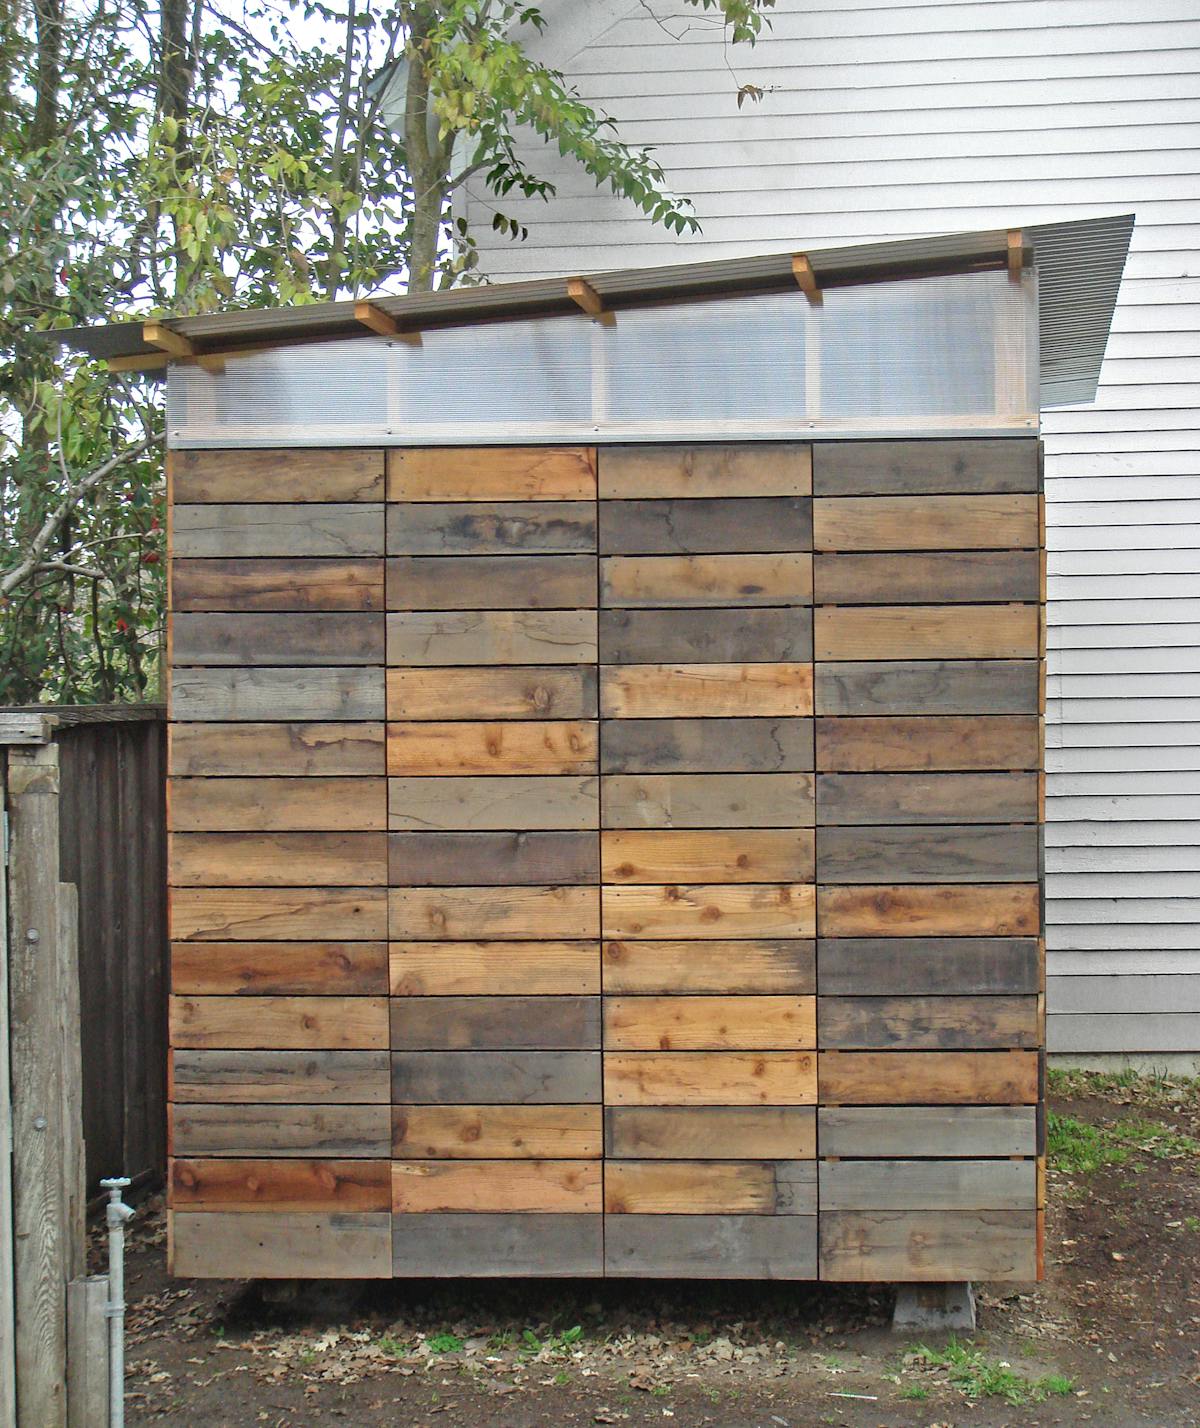
Cedar work shed Cashback
Photos Cedar work shed


Monday, November 2, 2020
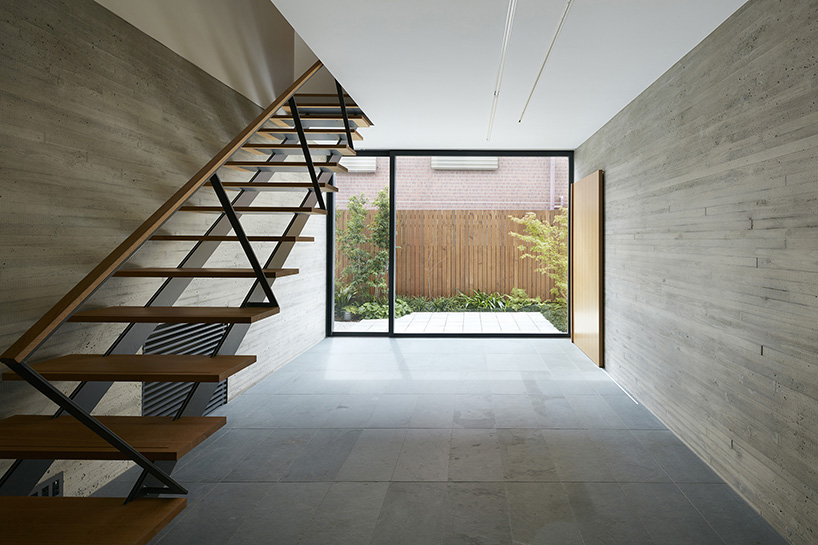
How to make a pent roof for a shed Compare
Graphics How to make a pent roof for a shed


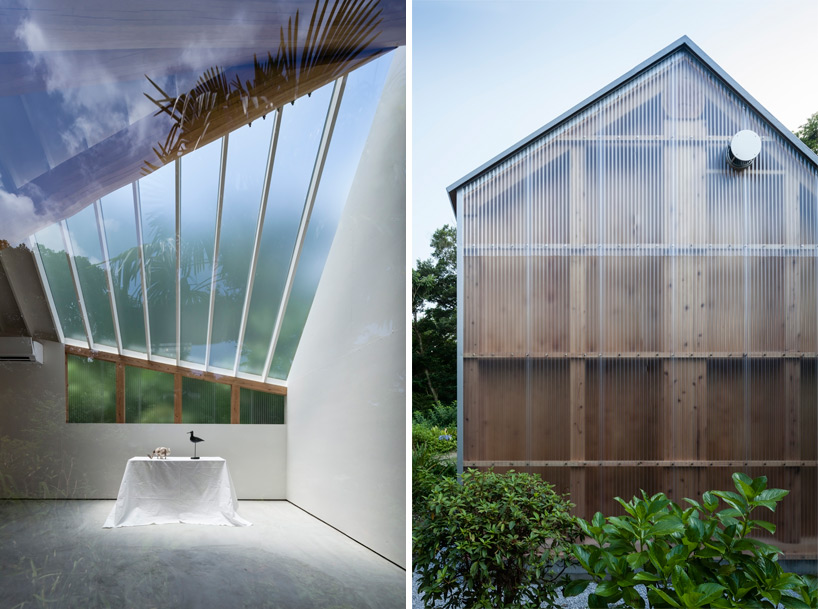
Asymmetrical gable roof Best
Images Asymmetrical gable roof


Sunday, November 1, 2020
Storage shed yard Avoid
Graphics Storage shed yard